2 Photos
Tips for Taking Better Trophy Photos:
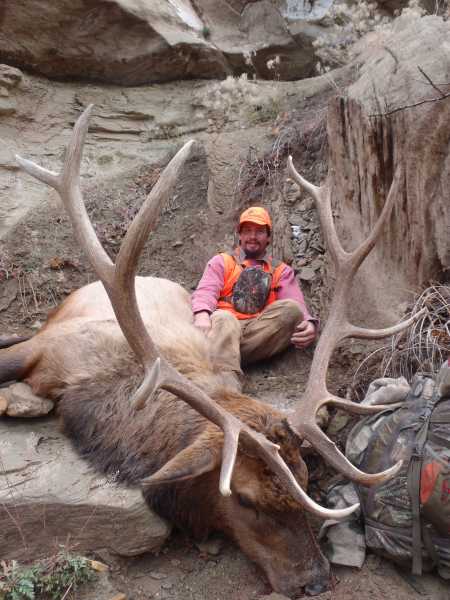
Tip #1 for taking better trophy photos: Background- Always look at the background of your animal. Sitting right in front of a bush is probably the worst thing to have in the background of your photo. The mass amount of branches make it hard to see the antlers well. The best case scenario is having the antlers either sky lined, snow in the back round or if in a valley choose the farthest hillside to use as your background.
Tip #2 for taking better trophy photos: Position of Animal- This is the most important part of making your trophy look huge. First get the two front legs underneath the animal so it is balancing by itself and you are just controlling the head, this will allow the center of the back to be pointed strait up. You’ll notice that the nose of the animal wants to naturally be pointed down, that just what we want. If you can, take two sticks and lodge them in two different areas from the animals neck to the ground. It might take a few tries and some different lengths of sticks but you’ll get it. The animal should balance perfectly by itself with the center of it's shoulders pointing straight up, the head of the animal should be vertical with the nose pointing towards the ground. Make sure no tongue is out and we are ready for the next step.
Tip #3 for taking better trophy photos: Where do I sit- The reason we wanted you to prop up the animal is because you want to be just far enough back where you cannot reach the antlers. You need to take a few pictures adjusting how close and far you are getting from the animal. You do this to find the perfect medium. If you are too close you shrink the antlers and take over the picture. If you're too far away it might seem as if you aren’t supposed to be there. I generally like to be three to four feet back.
Tip #4 for takng better trophy photos: Fill up camera space- This is very important that you are talking to your photographer. You can be positioned great and have the photographer ruin the picture. They must fill up the entire frame of the picture with you and your animal, they should do this with out zooming in, a lot of times when you zoom in, you are going to blur the photo. Another very important part is you do not want the photographer shooting at a down angle, you want him level with you or maybe a hair lower.
Try out these tips for taking better trophy photos and I guarantee you will be impressed.
Tips for Taking Better Trophy Photos:
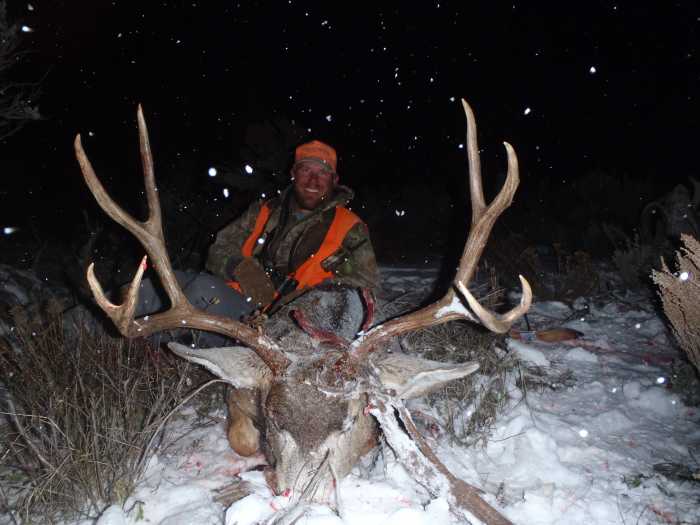
Tip #1 for taking better trophy photos: Background- Always look at the background of your animal. Sitting right in front of a bush is probably the worst thing to have in the background of your photo. The mass amount of branches make it hard to see the antlers well. The best case scenario is having the antlers either sky lined, snow in the back round or if in a valley choose the farthest hillside to use as your background.
Tip #2 for taking better trophy photos: Position of Animal- This is the most important part of making your trophy look huge. First get the two front legs underneath the animal so it is balancing by itself and you are just controlling the head, this will allow the center of the back to be pointed strait up. You’ll notice that the nose of the animal wants to naturally be pointed down, that just what we want. If you can, take two sticks and lodge them in two different areas from the animals neck to the ground. It might take a few tries and some different lengths of sticks but you’ll get it. The animal should balance perfectly by itself with the center of it's shoulders pointing straight up, the head of the animal should be vertical with the nose pointing towards the ground. Make sure no tongue is out and we are ready for the next step.
Tip #3 for taking better trophy photos: Where do I sit- The reason we wanted you to prop up the animal is because you want to be just far enough back where you cannot reach the antlers. You need to take a few pictures adjusting how close and far you are getting from the animal. You do this to find the perfect medium. If you are too close you shrink the antlers and take over the picture. If you're too far away it might seem as if you aren’t supposed to be there. I generally like to be three to four feet back.
Tip #4 for takng better trophy photos: Fill up camera space- This is very important that you are talking to your photographer. You can be positioned great and have the photographer ruin the picture. They must fill up the entire frame of the picture with you and your animal, they should do this with out zooming in, a lot of times when you zoom in, you are going to blur the photo. Another very important part is you do not want the photographer shooting at a down angle, you want him level with you or maybe a hair lower.
Try out these tips for taking better trophy photos and I guarantee you will be impressed.
Tips for Taking Better Trophy Photos:
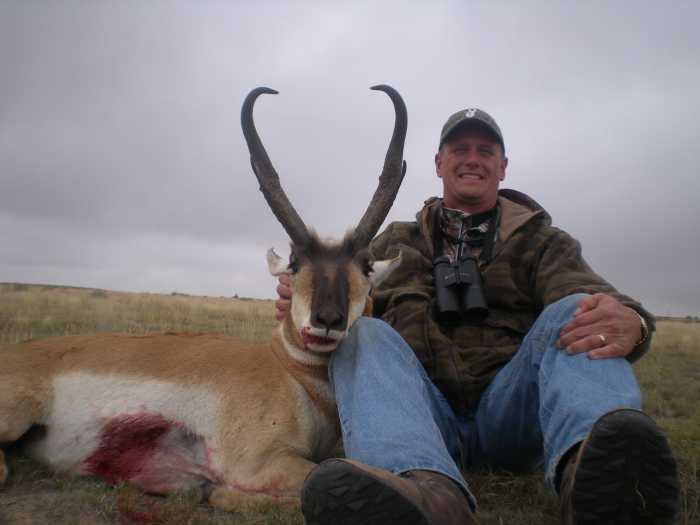
Tip #1 for taking better trophy photos: Background- Always look at the background of your animal. Sitting right in front of a bush is probably the worst thing to have in the background of your photo. The mass amount of branches make it hard to see the antlers well. The best case scenario is having the antlers either sky lined, snow in the back round or if in a valley choose the farthest hillside to use as your background.
Tip #2 for taking better trophy photos: Position of Animal- This is the most important part of making your trophy look huge. First get the two front legs underneath the animal so it is balancing by itself and you are just controlling the head, this will allow the center of the back to be pointed strait up. You’ll notice that the nose of the animal wants to naturally be pointed down, that just what we want. If you can, take two sticks and lodge them in two different areas from the animals neck to the ground. It might take a few tries and some different lengths of sticks but you’ll get it. The animal should balance perfectly by itself with the center of it's shoulders pointing straight up, the head of the animal should be vertical with the nose pointing towards the ground. Make sure no tongue is out and we are ready for the next step.
Tip #3 for taking better trophy photos: Where do I sit- The reason we wanted you to prop up the animal is because you want to be just far enough back where you cannot reach the antlers. You need to take a few pictures adjusting how close and far you are getting from the animal. You do this to find the perfect medium. If you are too close you shrink the antlers and take over the picture. If you're too far away it might seem as if you aren’t supposed to be there. I generally like to be three to four feet back.
Tip #4 for takng better trophy photos: Fill up camera space- This is very important that you are talking to your photographer. You can be positioned great and have the photographer ruin the picture. They must fill up the entire frame of the picture with you and your animal, they should do this with out zooming in, a lot of times when you zoom in, you are going to blur the photo. Another very important part is you do not want the photographer shooting at a down angle, you want him level with you or maybe a hair lower.
Try out these tips for taking better trophy photos and I guarantee you will be impressed.